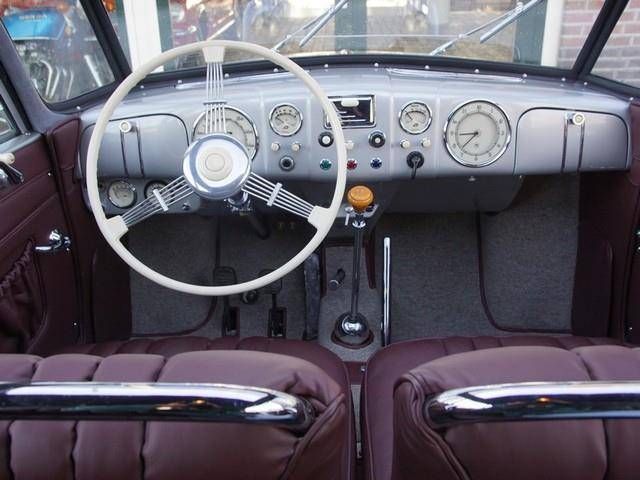
Truck enthusiasts and owners often take pride in maintaining the appearance and functionality of their vehicles. One crucial yet often overlooked component is the steering wheel. Over time, steering wheels in trucks from the 1995-2010 era can start showing signs of wear and tear, detracting from the overall aesthetic and comfort of the vehicle. However, restoring a truck steering wheel to its former glory is entirely feasible with the right approach and tools. This comprehensive guide will delve into the steps and techniques involved in restoring steering wheels from this era, ensuring they gleam into the future.
Understanding the Restoration Process
Before diving into the restoration process, it’s essential to understand the common issues plaguing steering wheels from the 1995-2010 era. These issues typically include worn-out leather or vinyl, faded color, cracks, and general wear from years of use. Restoring a steering wheel involves addressing these issues comprehensively to achieve a like-new appearance and ensure long-lasting durability.
Step 1: Assessment and Preparation
The first step in any restoration project is to thoroughly assess the condition of the steering wheel. Carefully inspect for cracks, tears, faded areas, and any other damage that needs addressing. Take note of the material of the steering wheel, whether it’s leather, vinyl, or another type, as the restoration approach may vary accordingly.
Once you’ve assessed the condition, it’s time to prepare the steering wheel for restoration. Start by thoroughly cleaning the surface using a mild detergent or specialized cleaner designed for automotive interiors. Remove any grime, grease, or residue that may have accumulated over the years. A soft brush or microfiber cloth can be used to reach into crevices and ensure a deep clean.
Step 2: Repairing Damage
Depending on the extent of the damage, repairing cracks, tears, and other imperfections may be necessary before proceeding with the restoration process. Various repair kits are available on the market specifically designed for automotive interior repairs. These kits typically include fillers, adhesives, and color-matching compounds to seamlessly repair damaged areas.
Follow the instructions provided with the repair kit carefully, ensuring proper application and drying times. For larger cracks or tears, a patch or reinforcement material may be necessary to provide added strength and support.
Step 3: Restoring Color and Texture
One of the most noticeable aspects of a steering wheel’s appearance is its color and texture. Over time, exposure to sunlight and frequent use can cause the color to fade and the texture to become worn out. Restoring the color and texture involves carefully applying dye or paint to match the original hue and texture of the steering wheel.
Before applying any dye or paint, it’s essential to thoroughly clean the surface once again to ensure proper adhesion. Choose a high-quality dye or paint specifically formulated for automotive interiors to ensure a long-lasting finish. Apply the dye or paint evenly using a sponge or brush, following the manufacturer’s instructions for the best results.
Step 4: Conditioning and Protecting
Once the color has been restored, it’s crucial to condition and protect the steering wheel to maintain its appearance and prevent future damage. Choose a high-quality leather or vinyl conditioner suitable for automotive use and apply it generously to the surface of the steering wheel. Massage the conditioner into the material using a soft cloth, allowing it to penetrate and nourish the surface.
Additionally, consider applying a protective coating or sealant to further enhance durability and resistance to UV damage, stains, and moisture. Various automotive-grade protectants, ranging from sprays to creams, are available on the market, each offering different levels of protection and finish.
Step 5: Final Touches and Maintenance
With the restoration process complete, take a moment to admire the gleaming finish of your newly restored steering wheel. Before reinstalling it in your truck, ensure that it’s completely dry and free of any residue. Reattach any trim pieces or accessories that were removed during the restoration process, ensuring a seamless fit and finish.
To maintain the appearance of your restored steering wheel, it’s essential to establish a regular cleaning and maintenance routine. Wipe down the surface regularly with a damp cloth to remove any dust or debris, and reapply conditioner and protectant as needed to keep the material supple and resistant to wear.
Conclusion
Restoring a steering wheel from the 1995-2010 era requires time, effort, and attention to detail, but the results are well worth it. By following the steps outlined in this guide and using the right tools and materials, you can breathe new life into your truck’s interior, ensuring that it gleams into the future for years to come. Whether you’re a seasoned enthusiast or a first-time restorer, restoring a steering wheel is a rewarding endeavor that allows you to preserve the beauty and functionality of your truck for generations to come.

